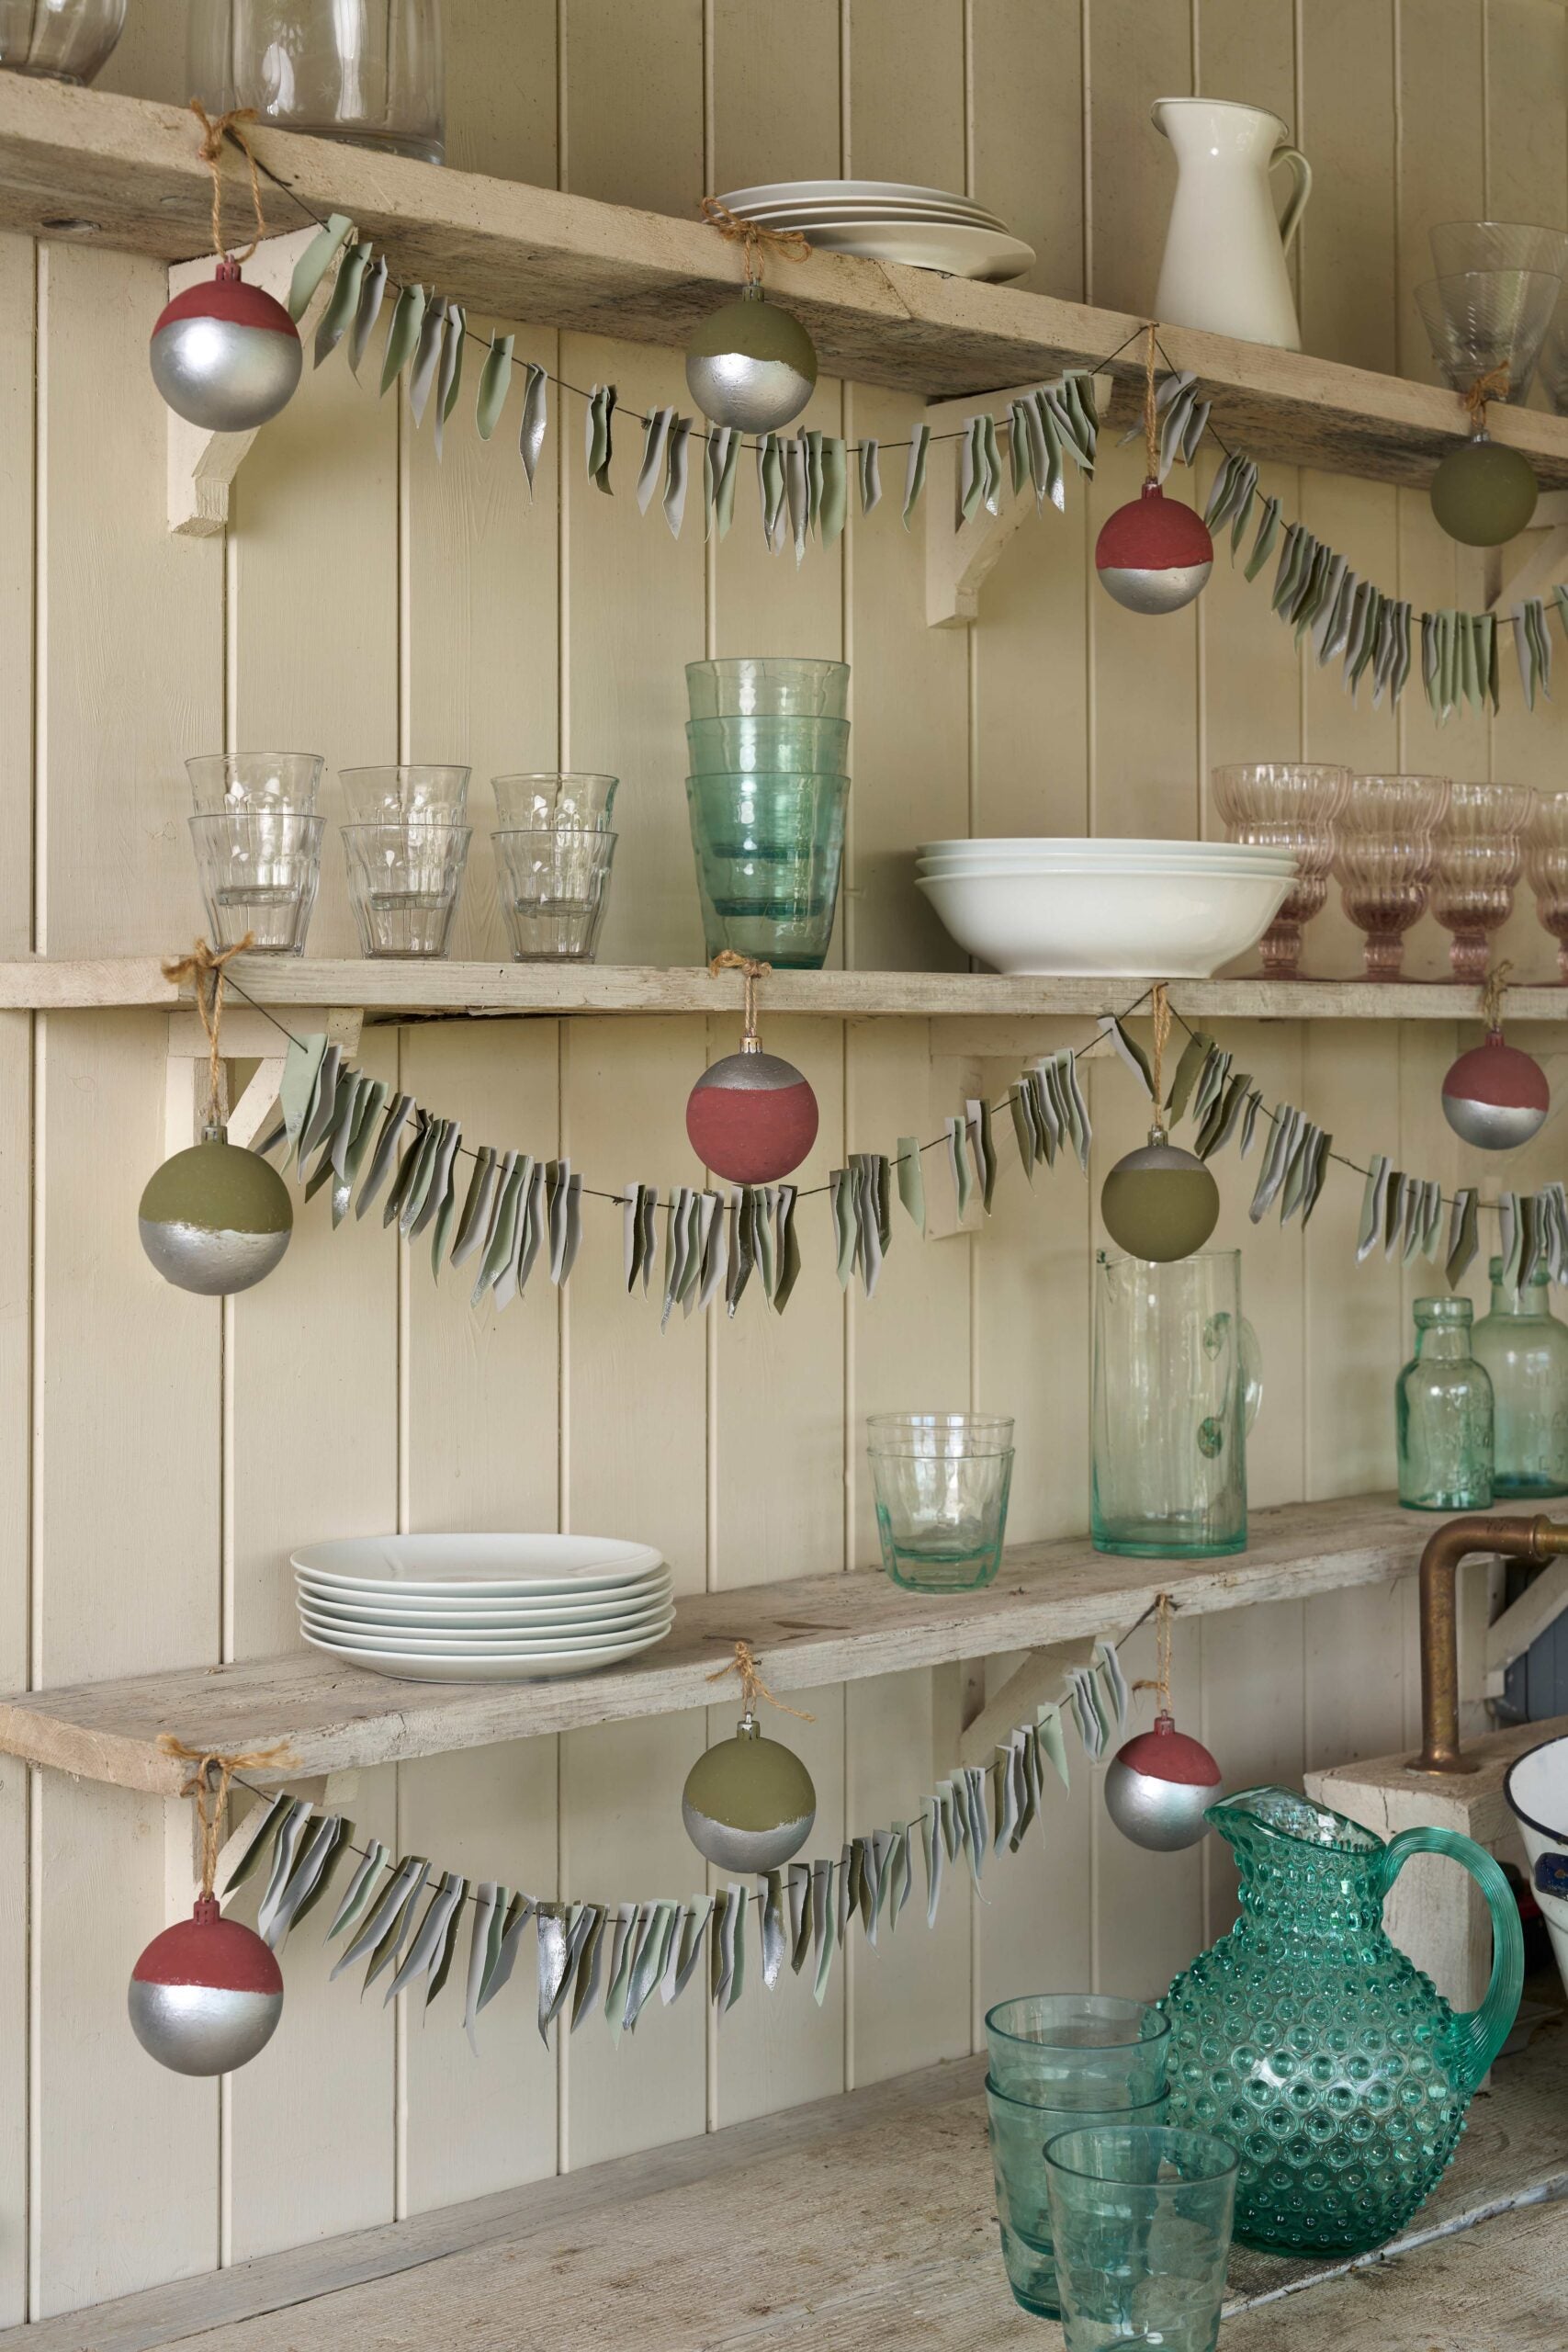
Step into the festive spirit with this fun and easy DIY Christmas bunting project, turning your holiday decor into a charming crafting tradition. Not only is it a joyful activity, but it’s also eco-friendly, adding a touch of feel-good warmth to your festive celebrations. Plus, you can match the bunting to your existing decor using delightful Chalk Paint colours! Go the whole hog and paint wrapping paper and baubles to match for a really bespoke, curated, high-end homemade feel.
You will need:
- 120ml Chalk Paint in Olive*
- 120ml Chalk Paint in Coolabah Green*
- 120ml Chalk Paint in Paris Grey*
- Gilding Wax in Bright Silver
- MixMat
- Small Flat Brush
- Detail Brushes
- Card
- Embroidery thread
- Large needle
- Scissors
Or three other colours of your choice!
STEP 1: PAINT THE CANVAS
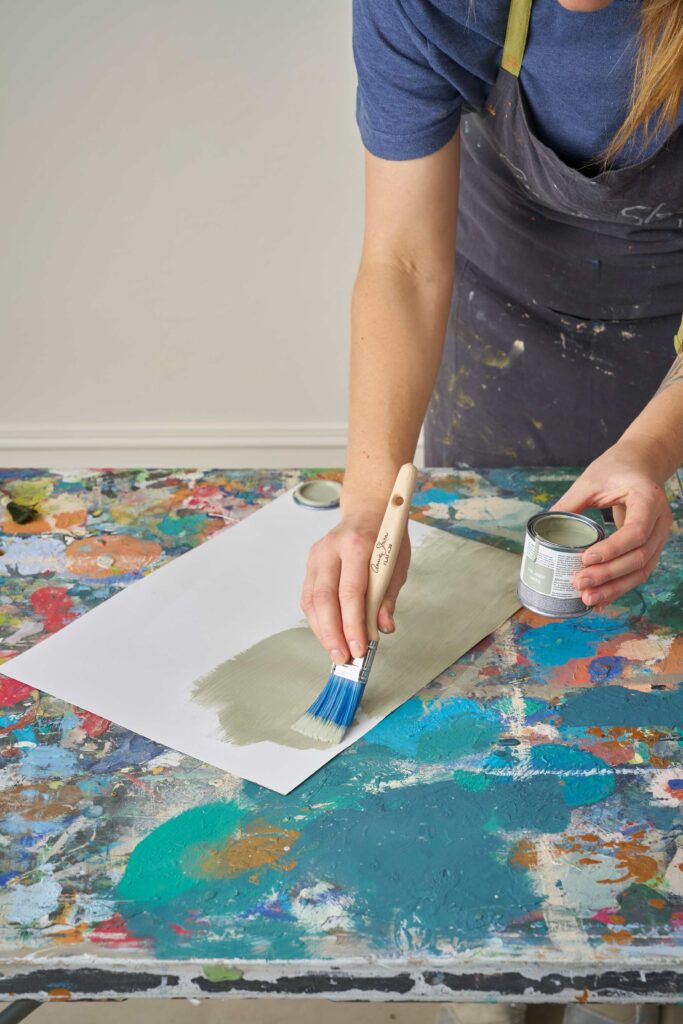
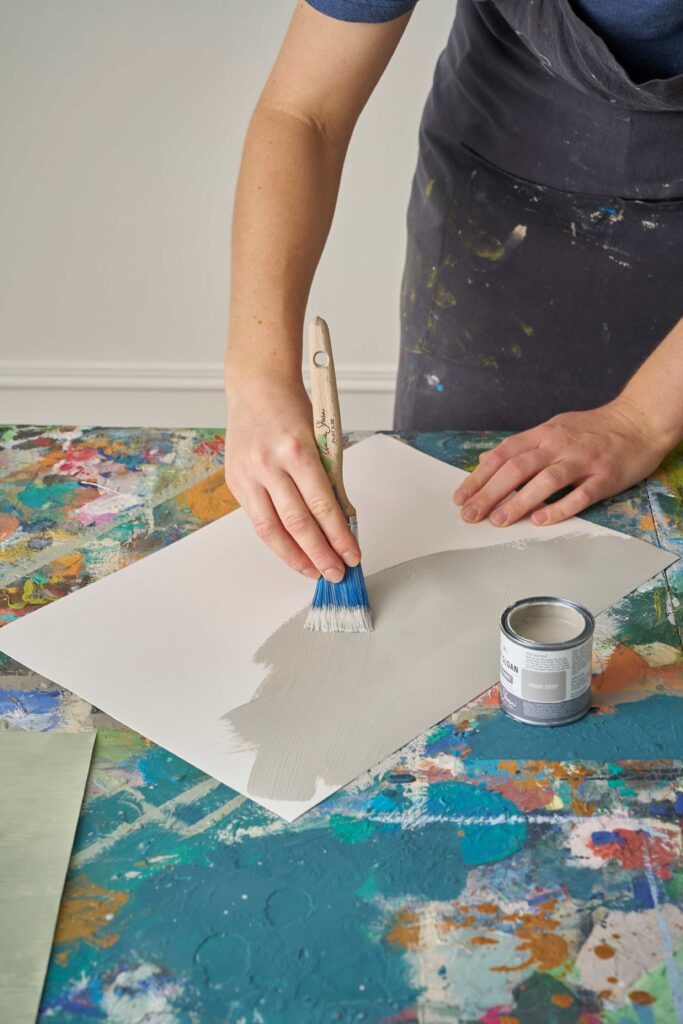
Get creative by painting one side of the card with either Chalk Paint in Olive or Coolabah Green, allowing equal amounts for both. Once dry, flip the card and paint the other side with Paris Grey. Repeat this step for each piece of card and let it fully dry.
STEP 2: CUT AND CRAFT
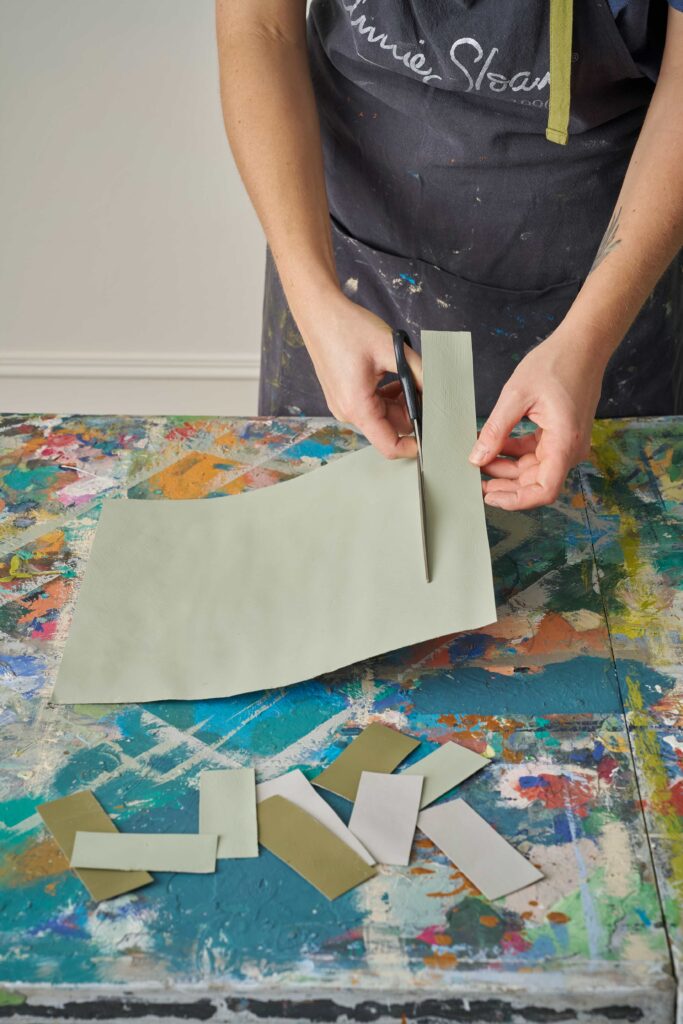
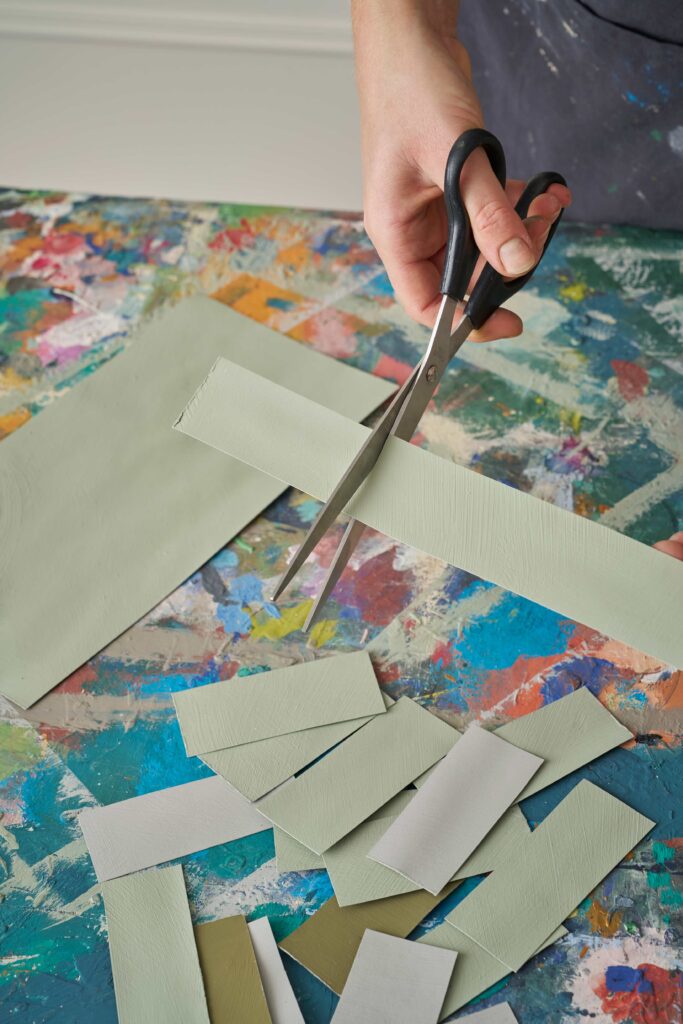
Once dry, cut the painted card into rectangles, approximately 6cm x 3cm in size, using your trusty scissors.
STEP 3: FOLD AND SHAPE
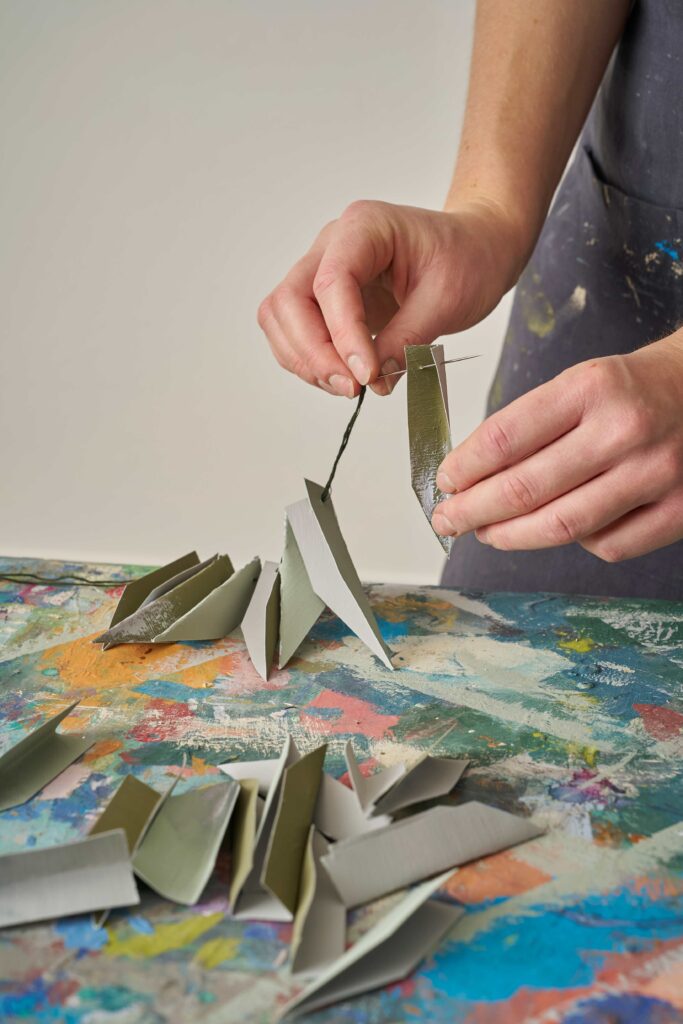
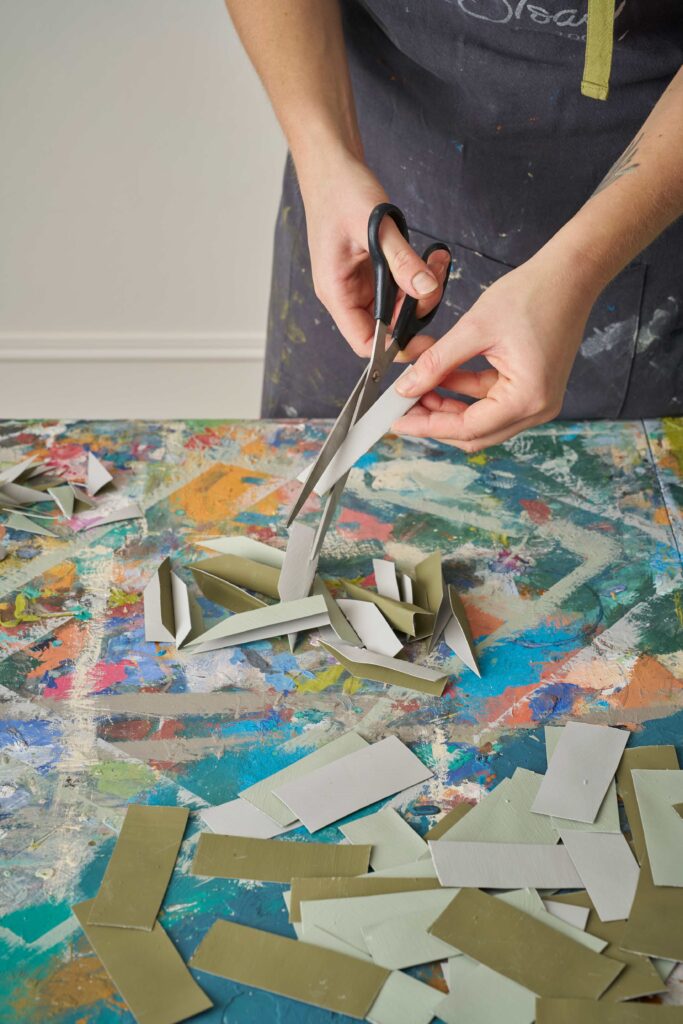
Fold each rectangle in half along the longer side and snip it to a point, creating unique leaf shapes. Embrace the rustic vibe by folding some with green facing inwards and grey outwards, and vice versa.
STEP 4: GILDING GLAMOUR
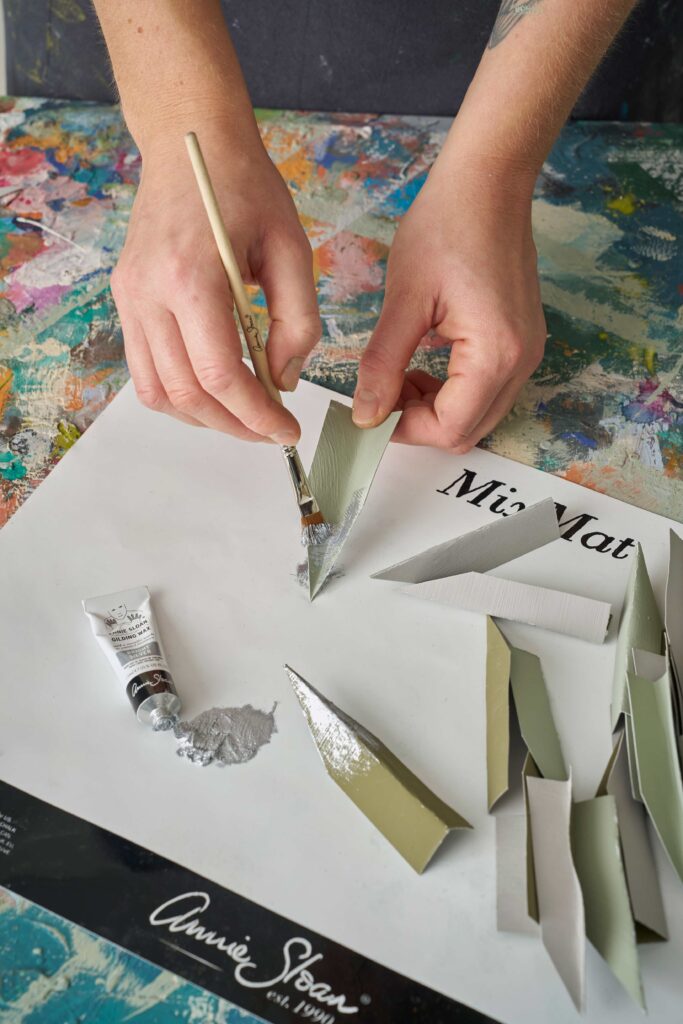
Add a touch of glamour with Bright Silver Gilding Wax using a small detail brush. Gild around a third of the leaves, leaving two-thirds untouched for a varied look.
STEP 5: STRINGING TOGETHER THE FESTIVITY
Thread a hardy embroidery thread through a needle, choosing a colour that complements your vision. String the leaves at random, alternating colours and including the silver-tipped ones. Tie the end of the thread in a loop, making it easy to hang your personalized Christmas bunting year after year!
Enjoy this delightful and crafty project, bringing festive cheer to your home with a personal touch!
