This article is all about how to make a little paint go a long way! Reap the benefits of a whole room repaint at a fraction of the cost and time with these Wall Paint tester-pot tricks.
Disclaimer: All of these transformations have been painted using Annie Sloan Wall Paint. Other paints may not go as far or have as much coverage! We recommend using Annie Sloan Wall Paint for best results.
We’ve already debunked the use of environmentally unfriendly wall paint stickers in our mission to help you be as sustainable as possible in keeping your home looking its best. Now, we want to show you how to use up leftover tester pots to avoid waste (or simply get that new-room feeling without a whole paint job!).
Whether you’re looking for wall-painting ideas for your bedroom, living room, dining room, kitchen or bathroom, these creative, cool wall-painting ideas can be used anywhere in your home! Best of all, they’ll be quicker, easier and cheaper than painting entire walls, but with just as much transformative impact.
1. Get A Squiggle On
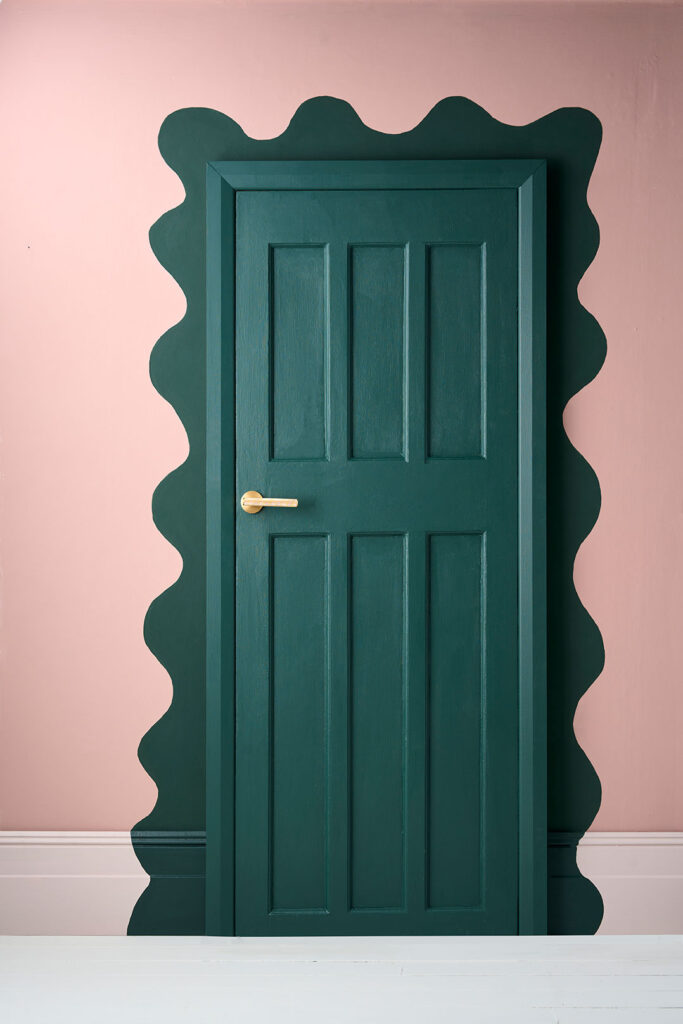
This handsome Knightsbridge Green door and border in Annie Sloan Satin Paint (door) and Annie Sloan Wall Paint (door surround) is a delightfully playful way to bring more colour into a space.
We chose this rich, jewel-toned classical green because it contrasts beautifully against our Piranesi Pink Wall Paint on the walls and Annie Sloan Satin Paint in Pointe Silk on the skirting. Pink and green is a time-honoured colour combination and very easy to live with. As you can see, the squiggle goes the whole way to the floor, just like the door. The result is joyful, charming, and guaranteed to please visitors. A portal to a more aesthetically pleasing dimension!
To paint your own door border, use this ‘how-to’:
- Freehand paint using a small brush such as our Annie Sloan Flat Brush or even the Detail Paint Brush Set
- Start at the highest point then paint downwards to avoid smudging
- Create the outline of your shape and then “fill in”
Annie’s tip: “Choose strongly contrasting shades when painting playful motifs like this, they reflect the bold, avant-garde, tongue-in-cheek feeling that imperfect squiggly lines elicit. This is an especially fabulous paint idea for a child’s bedroom because it will spark imagination”.

2. Turn on the Charm
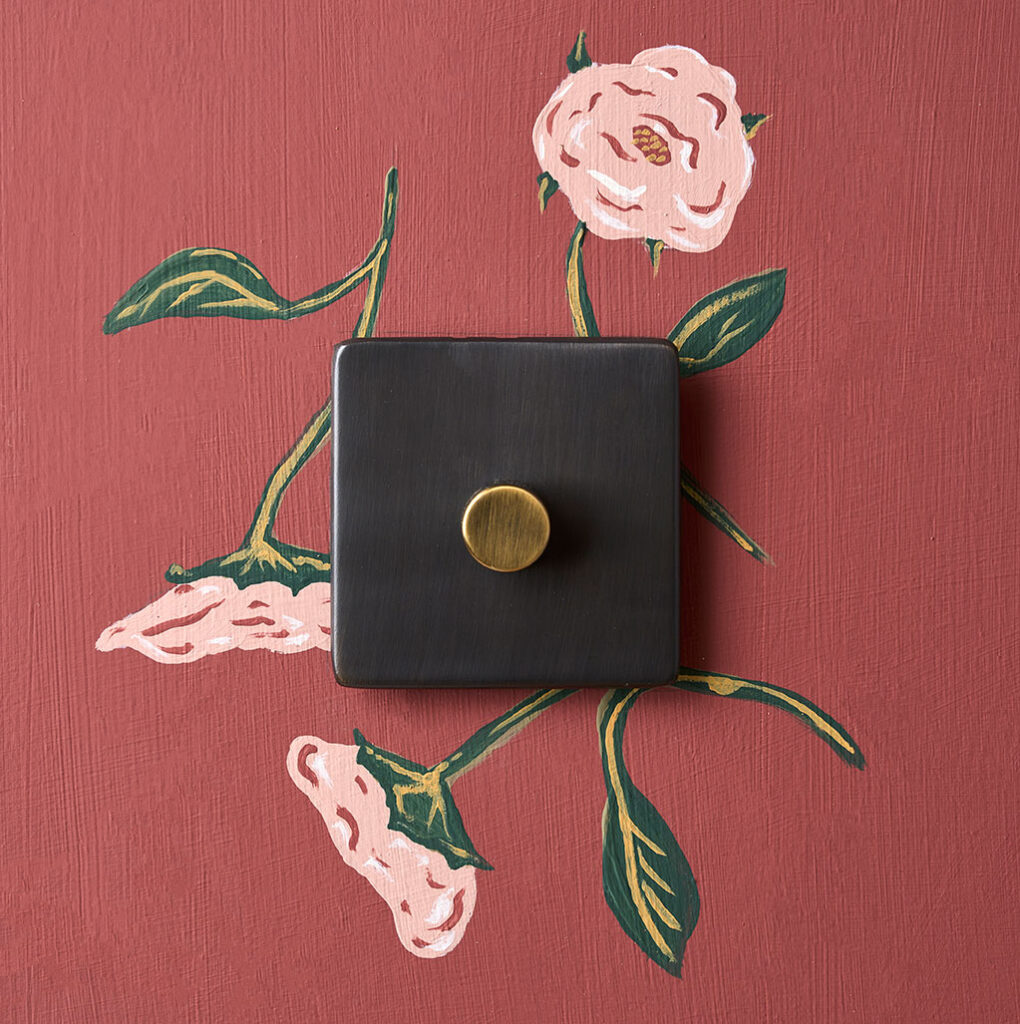
Light switches don’t have to be an eyesore. Good design is about working with what you have, not against it. Sometimes, making a feature out of a necessary evil (like a light switch, plug outlet or vent) can be the best way of dealing with them. Furthermore, light switches are a good place to start with experimental painting as they give some guidance and structure around placement (rather than the overwhelming freedom of choice a totally blank wall can sometimes provoke!) and generally sit at eye level (meaning maximum pay off for minimum effort!). On the other hand, you may have invested in some rather lovely light switches (such as this one pictured, from our friends at Pooky Lights) and wish to bring more attention to them!
How to paint your light switch rose detail:
- Use a small brush
- We used Annie Sloan Wall Paint 120ml in Old White, Carnaby Yellow, Knightsbridge Green and Piranesi Pink. Use whichever colours you have to hand to dictate the type of flower you paint!
- Allow the brush to dictate your lines. Simply “dip and drag” to create a stem. To create a leaf shape lay an oval-shaped brush against the wall, apply pressure, and roll side to side. Repeat this action with a slightly smaller brush and/or different colours to create flower petals and buds.
This is a quick and achievable idea for making your walls look freshly updated. Your whole room will feel brand-new and it will only take a fraction of the time (and cost) of painting entire walls.
Annie’s tip:
“Practice creating different shapes with small brushes on old newspaper before committing to the wall! Remember that paint can be wiped away with a damp cloth before it’s dry, and that there is romance, artistry and charm in imperfection! This kind of whimsical, folk-inspired painting lends itself well to some wobbliness”.

3. In The Frame
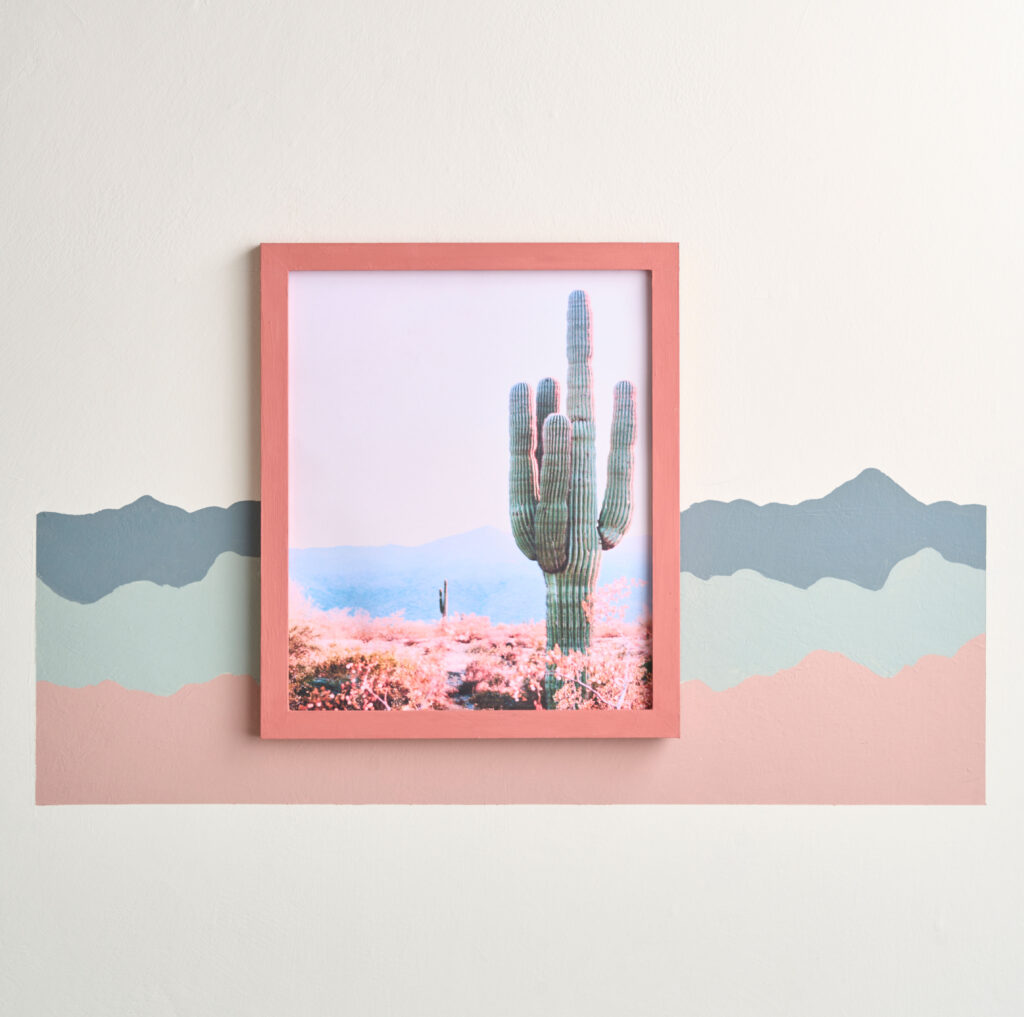
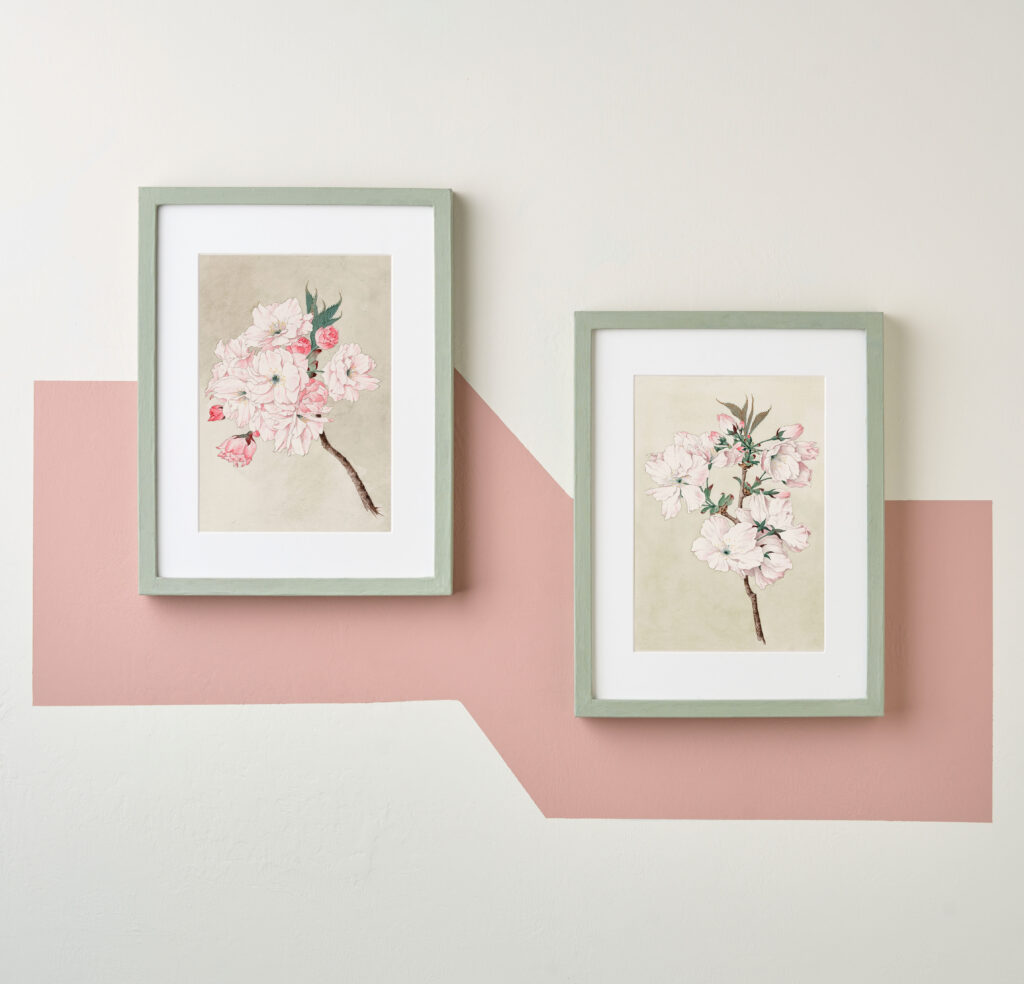
Painting around artwork to create a frame on the wall adds a fabulous pop of colour, draws the eye to your favourite pieces, and makes your space look effortlessly pulled together.
Use colours from the artwork itself to reflect in your paint choices; it’s this attention to detail and consideration that makes this look so high-end at very little cost.
How to paint frames on walls:
- Consider which artwork you most like, what you like about it, and how it makes the room feel.
- Choose colours from the art work to repeat.
- Consider repeating shapes and brush stroke styles as well as colour when deciding how to paint your wall.
Annie’s tip:
“Look to the artwork for inspiration. Reflect the style. Don’t be afraid to move paintings from different rooms so you have the right palette for the space. This can make a huge difference to how a room feels”.


We hope now you’ve read this article you’re bursting with inspiration and have thousands of ideas for ways to paint your walls!

